Blend-ed Learning Cloud Walkthrough
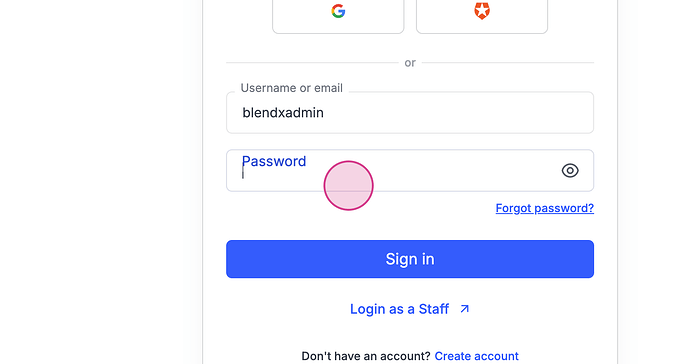
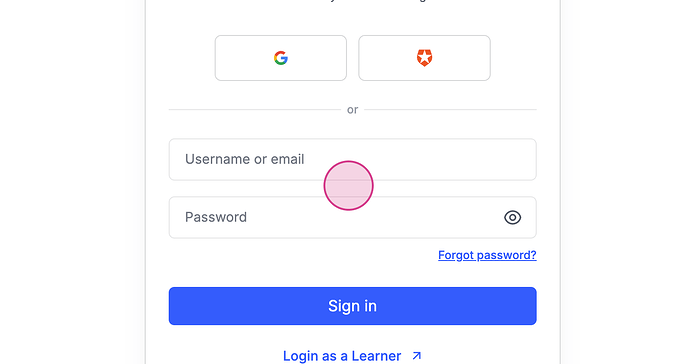
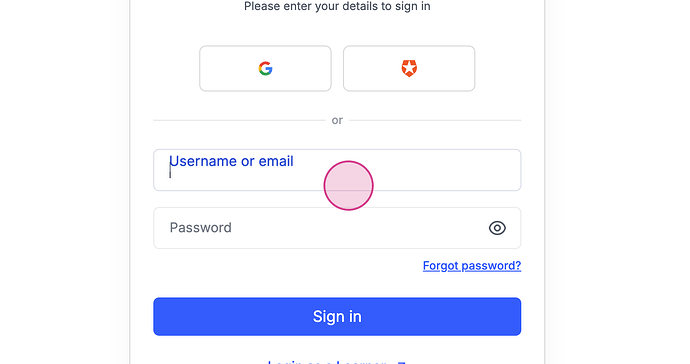
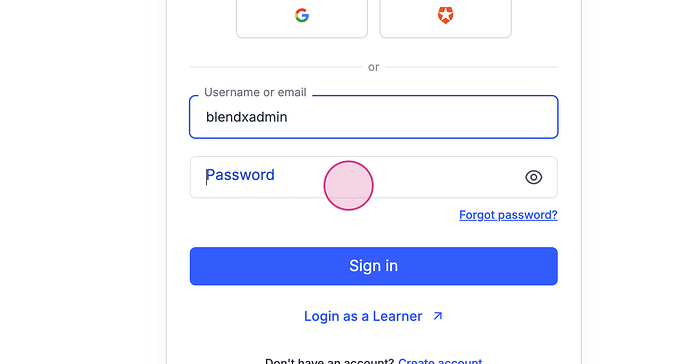
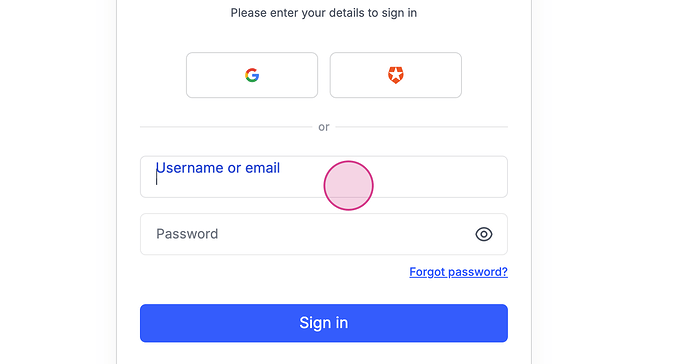
Welcome to the Blend-ed Dashboard, the primary gateway to the Blend-ed platform. This dashboard provides various login options, such as Google login and Auth0 login, which are integrated as third-party authentication services, in addition to the conventional email and password method.
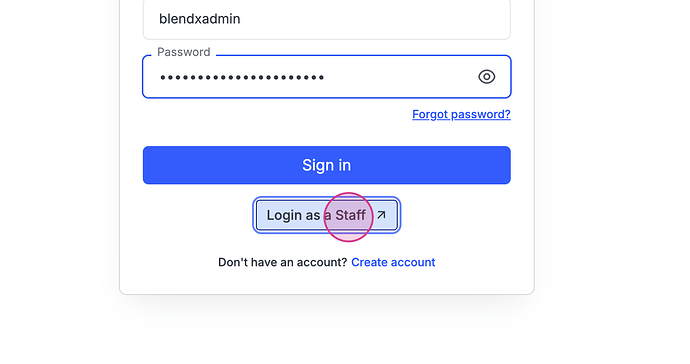
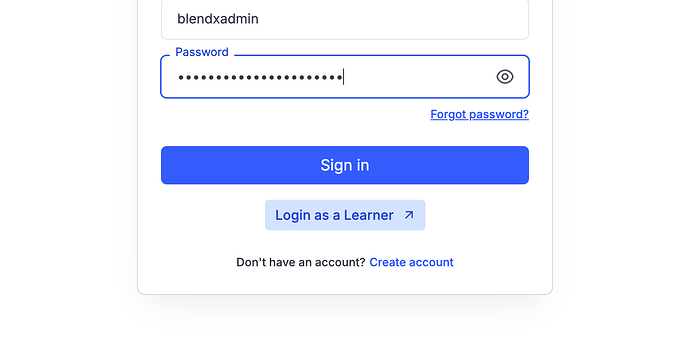
We will now demonstrate the login process using a user account that also permits staff login. After selecting the preferred login method,
the user will proceed to the subsequent step of the login process.
Following successful authentication,
users will be directed to the staff dashboard.
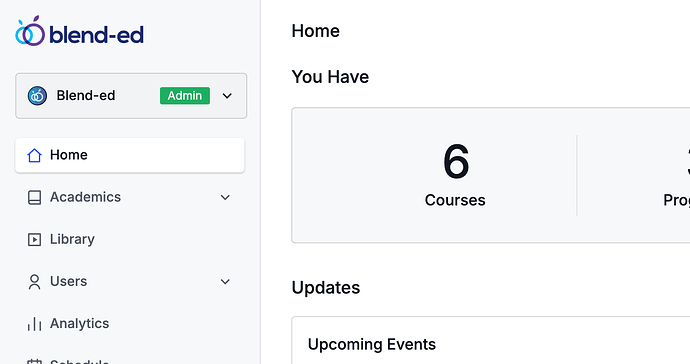
However, prior to delving into the staff section, we will first explore the Learner’s Dashboard.
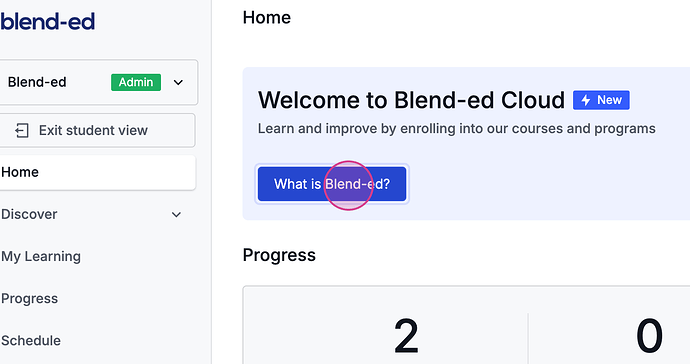
The Learner’s Dashboard is the first interface visible to students upon login. It features a banner, typically utilized for displaying notifications or alerts set by instructors or administrators. Each banner includes a title, a description, and a button which,
when clicked, redirects to another page if a link has been embedded by the instructor or administrator. In the top section of the dashboard,
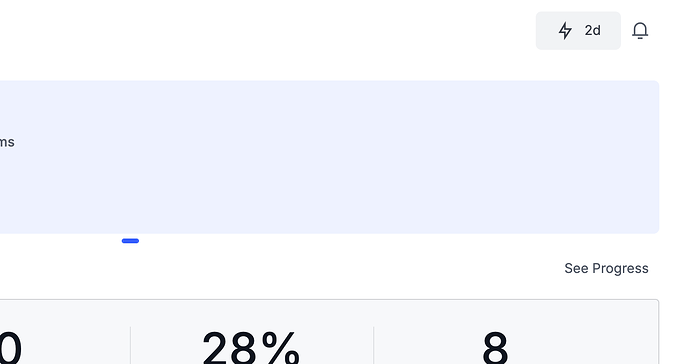
students can observe metrics related to their course engagement, including their current streak, best streak, and the days they have attended classes. A streak is recorded each time a student resumes or continues a course.
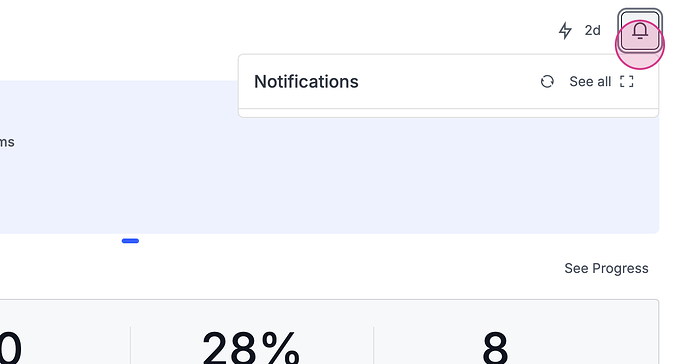
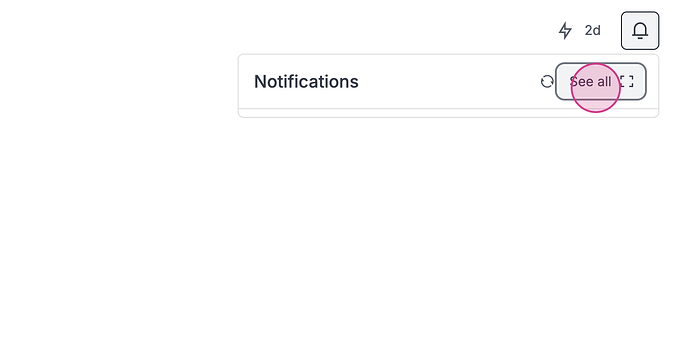
Additionally, the dashboard houses a notification section. By clicking on the ‘See all’ button, students can access
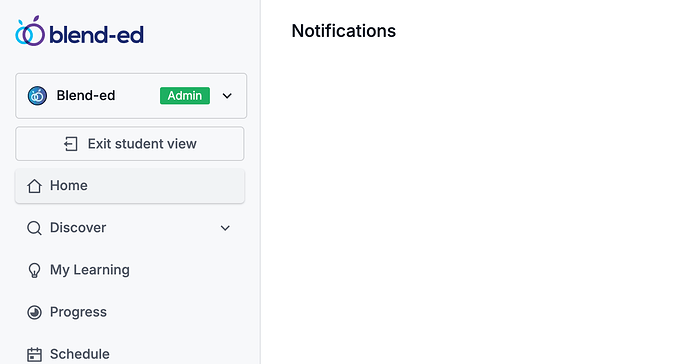
the full notifications page.
Here, all notifications pertinent to the student are displayed.
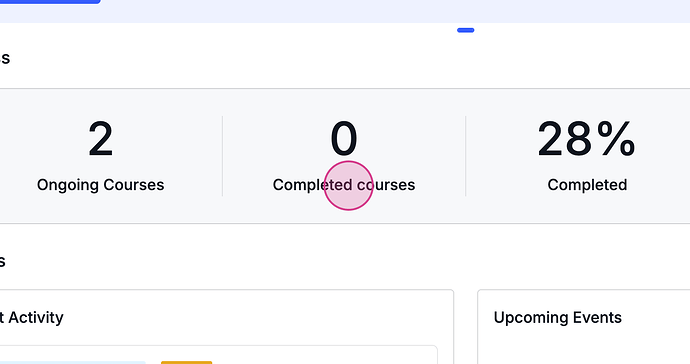
On the main dashboard page, there is a progress section that showcases ongoing courses,
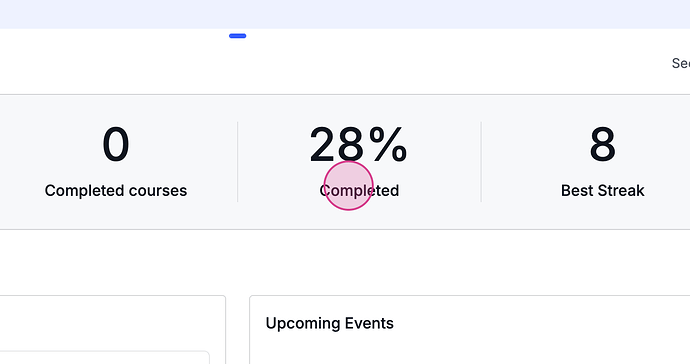
completed courses,
as well as completion percentages and the highest achievement rate. The updates section highlights recent activities, including a ‘resume’ button that enables students to continue with their last accessed course. The dashboard also includes an upcoming events section, where students can check for scheduled events in their calendar. Furthermore,
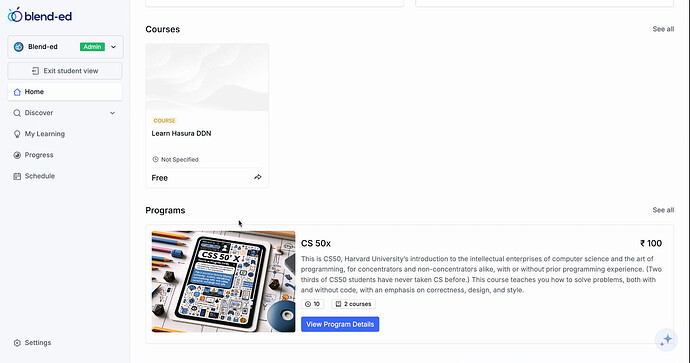
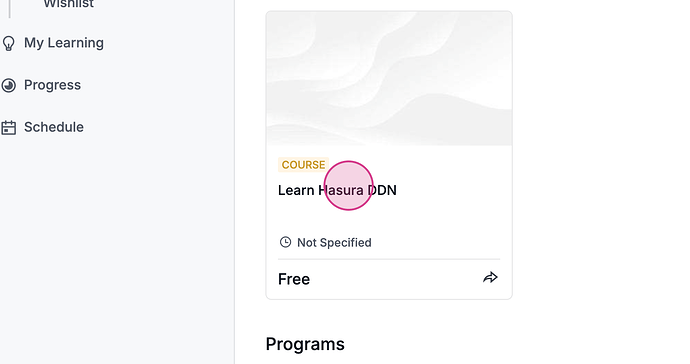
students can discover a list of available courses and programs for enrollment, which they have not yet joined. Each course card provides an option to view more details or to navigate directly to the course’s dedicated page.
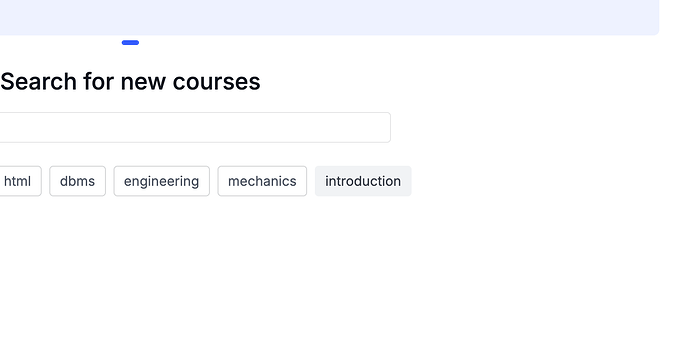
We start the exploration of our educational platform by clicking the “See all” button, which opens up a detailed view of all the available courses and programs. This interface is equipped with a tailored search feature that helps us find specific courses or programs that align with our interests.
Furthermore, we can refine our search results using various tags that are associated with the courses or programs.
Upon selecting a particular course or program, we are presented with comprehensive details that include the curriculum, duration, and other pertinent information.
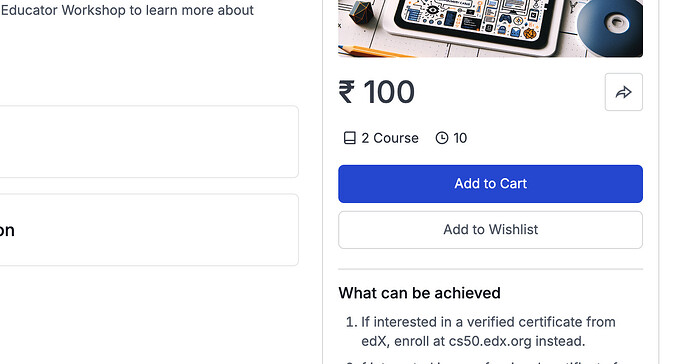
From this page, there is an option to add any course or program directly to our cart.
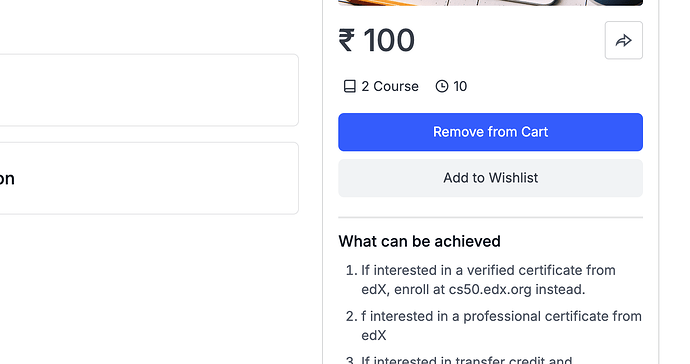
Once items are added to the cart, they can be viewed in the sidebar, where we also have the option to proceed to checkout and finalize our purchase.
Alternatively, items can be moved from the cart to our wishlist, allowing us to save them for future consideration.
In the “My Learning” section, we can access all the courses and programs in which we are currently enrolled, offering a quick overview of our ongoing educational activities.
Within this section, navigating to a specific program allows us to interact with individual course cards, which leads us to the course joining page.
As staff users, we have special access privileges that enable us to engage uniquely with the course materials. Joining a course updates our participation streak, reflecting our continuous learning efforts.
Each course consists of various units and components, which are systematically organized into sections and subsections to support structured learning.
Additionally, each course includes a “Zen mode,” designed to provide a distraction-free environment by enabling a full-screen view of the content.
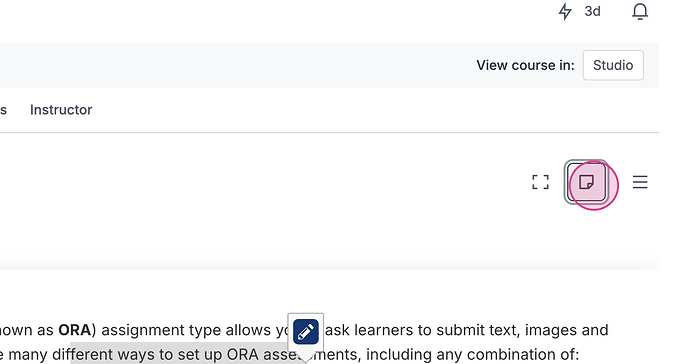
We also have the option to add notes once we activate the notes function. This feature can be disabled if necessary. After adding a note, we have the capability to comment on it.
After saving, all notes are accessible in the notes section.
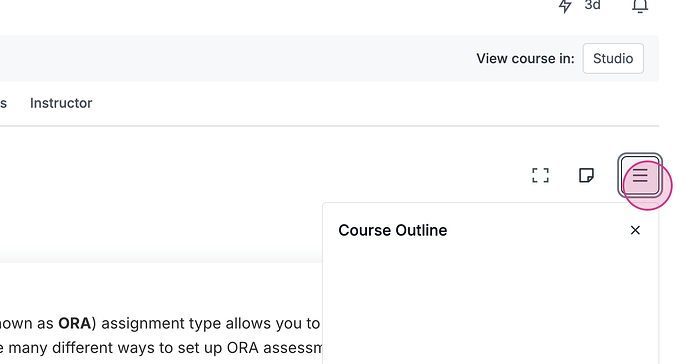
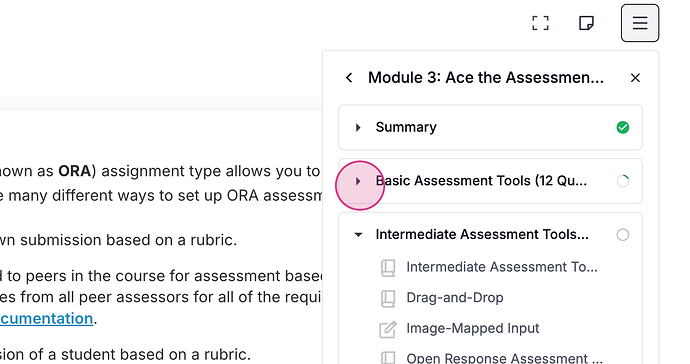
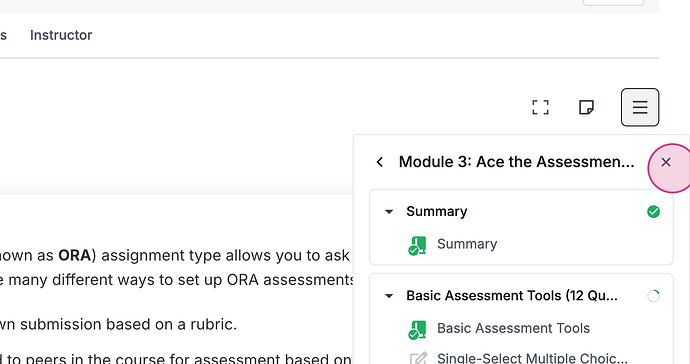
Moreover, we can view our course outline from the sidebar.
The components marked with a green tick indicate the sections we have completed.
This brings us to the main course landing page where the section progress is also displayed.
In the progress section of the platform, we can view the percentage of the course that has been completed, the number of units we have finished, and the units that are still pending. It also shows the number of days we have attended the course. If we have earned any certificates, they are displayed in this section as well. Additionally, this section provides a summary of our grades and outlines the learning path that we have followed, starting from a specific unit and progressing along the designated path. As instructors, we can access these analytics on a separate page, which will be discussed in more detail later.
In this overview of the progress section, we can monitor our course completion status, the number of days attended, and by clicking on ‘View analytics’, we can navigate to the progress page previously mentioned. This page also allows us to view our daily engagement as a student.
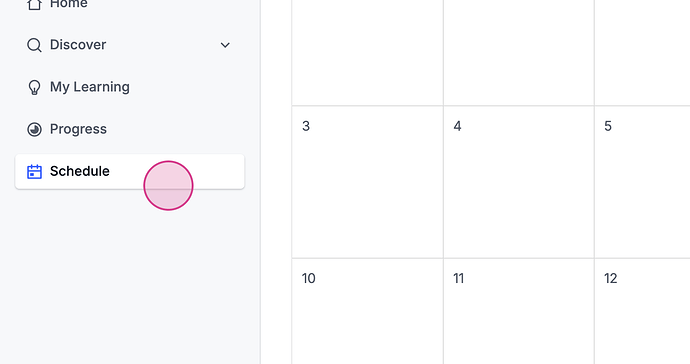
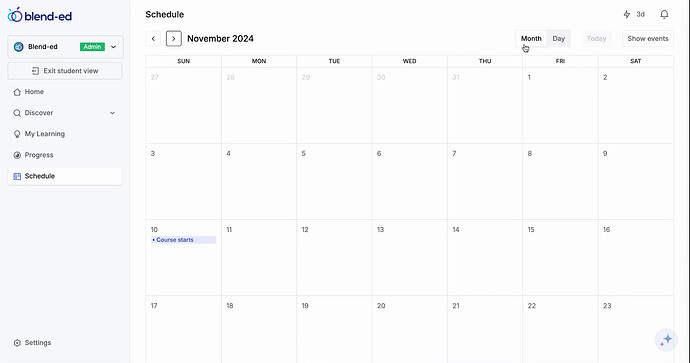
The scheduled section is where we can find all the details related to our course.
This area contains various post-related details.
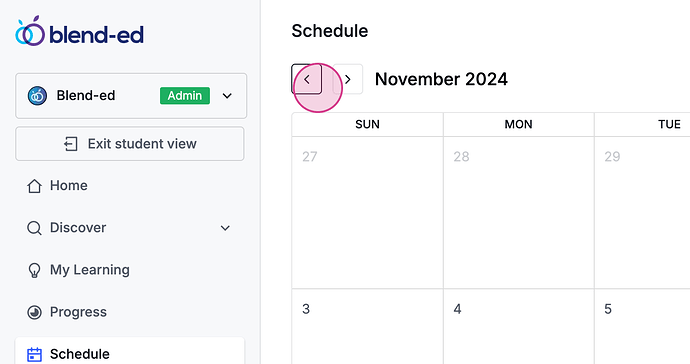
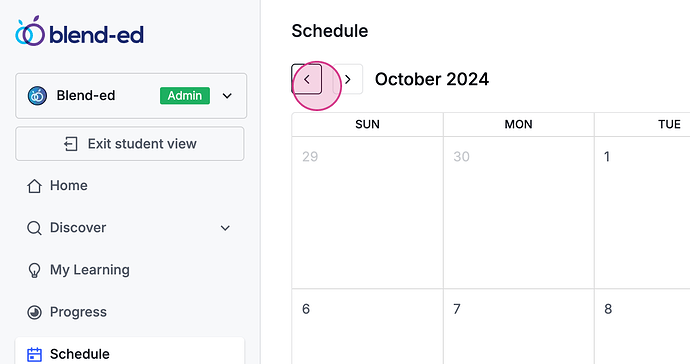
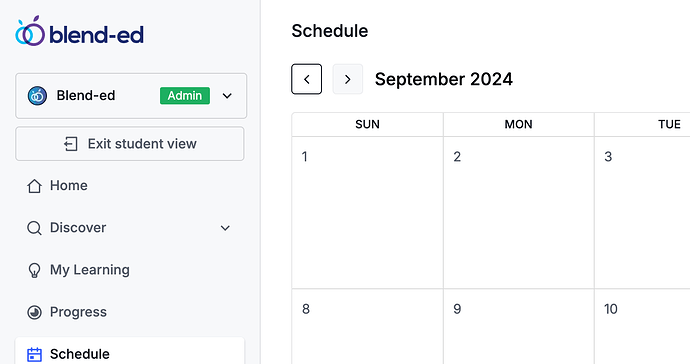
Furthermore, in cases where staff or an administrator has added events, these can be viewed in multiple formats, including a monthly view.
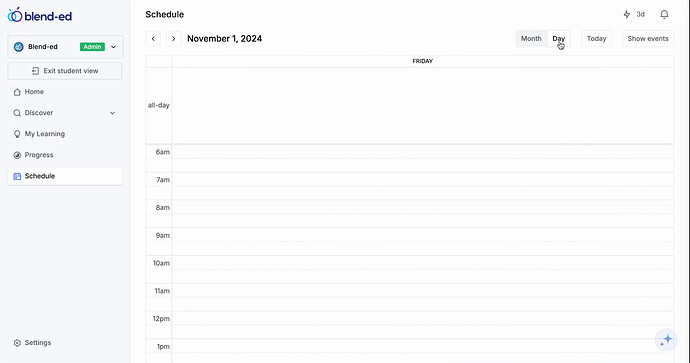
We also have the option to switch to a daily view of events.
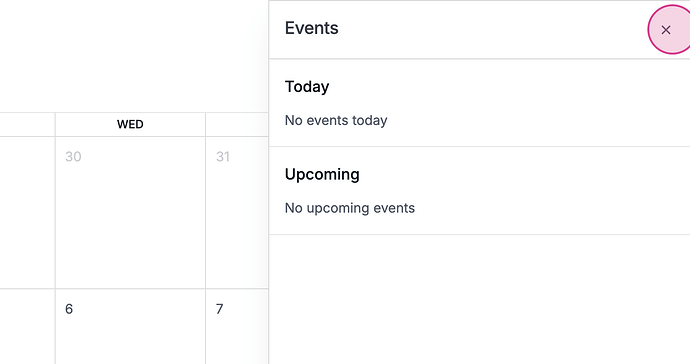
In the show event section, it displays whether there are any events scheduled for today or upcoming events.
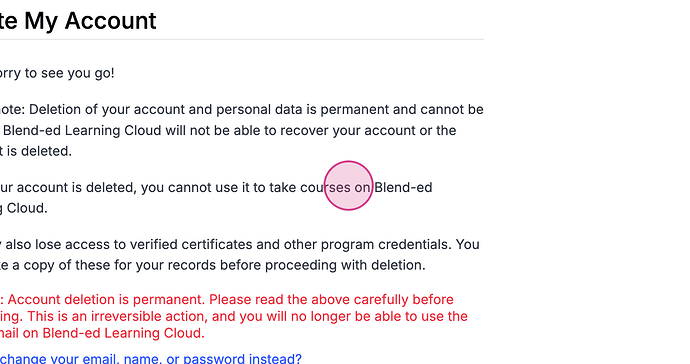
Moving on to the settings, we can add basic details such as our username, full name, and email address. From here, it’s also possible to reset our password and update our profile information, including adding social media links and changing site preferences. We can link our accounts to different third-party authentication services. After logging in with a basic email and password, we have the option to link our account with Google login and the auth0otp connection that was previously set up. There is also an option available to delete the account.
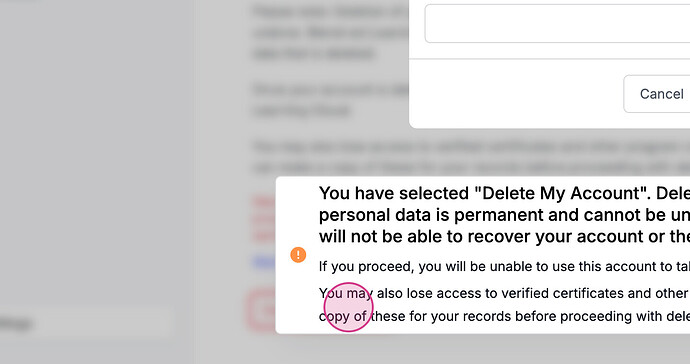
To initiate the deletion of the account, we simply click on the corresponding option.
This action will start the account deletion process.
The platform discussed here is primarily designed for students, offering a comprehensive view of their educational progress and settings management.
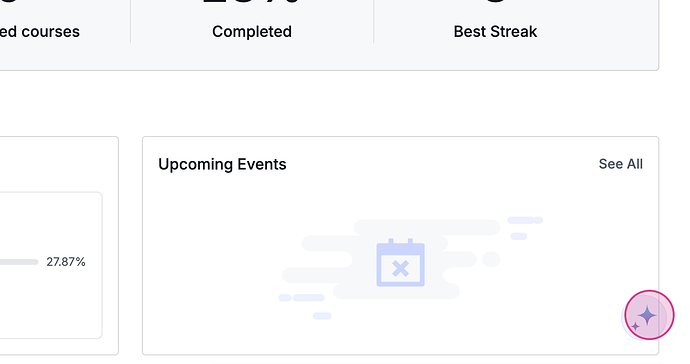
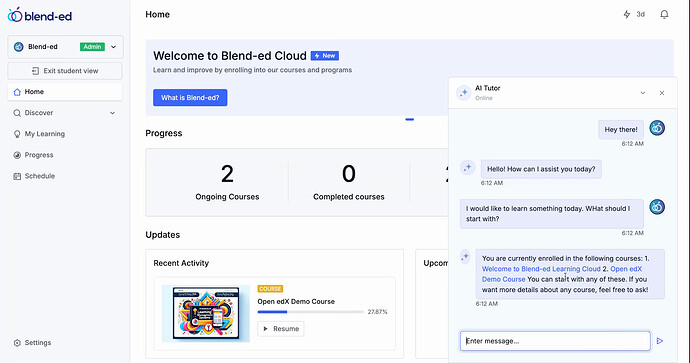
We recognize the value of having an AI tutor on our platform, a cutting-edge tool designed to assist users effectively. For example, when interacting with the AI tutor to determine the day’s learning focus, it offers personalized recommendations based on individual needs.
The functionality of the AI tutor extends beyond just course recommendations. It provides detailed information about the courses in which we are enrolled, allows us to check our grades, and track our progress. Additionally, it conveniently includes a link that, when clicked, directs us straight to the course’s learning page.
This interface serves as the standard setup for students. On the other hand, staff admins, upon accessing the student page, will find a button that guides them to the instructor’s dashboard or the staff section.
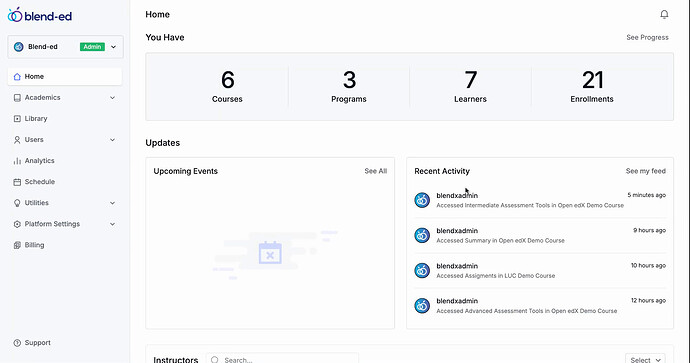
For those with administrative permissions, the staff dashboard unlocks additional features and functionalities. This dashboard presents a comprehensive view of the platform’s operations, including an overview of upcoming events and a summary of recent activities.
In the section dedicated to recent activities, one can monitor the latest student interactions within their courses, such as identifying which courses were accessed just five minutes ago.
As we scroll further down the dashboard, we find a list of instructors, providing a clear overview of the teaching staff associated with the platform.
Moving on, the dashboard also details course enrollments, displaying the count of enrollments for each course.
Additionally, the dashboard includes a section that showcases sales data, offering insights into the sales figures for each week of the month and detailing the total revenue received.
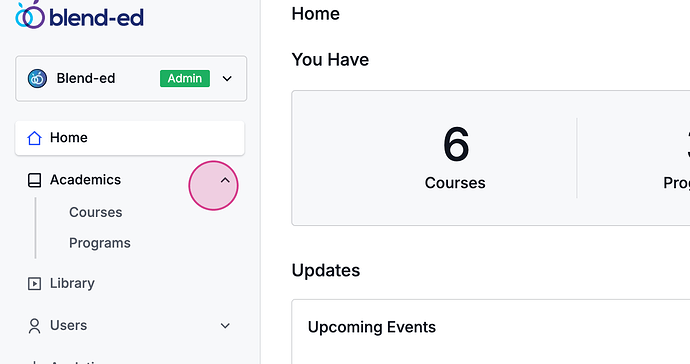
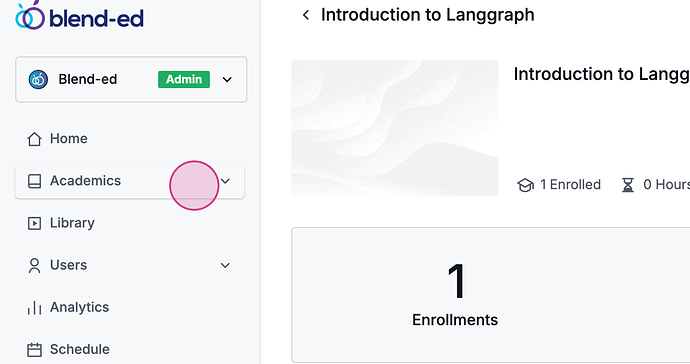
We then proceed to the academic section of the dashboard, which features options to navigate through various courses and programs.
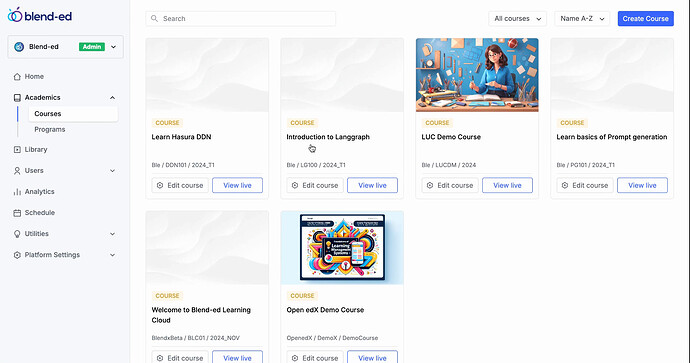
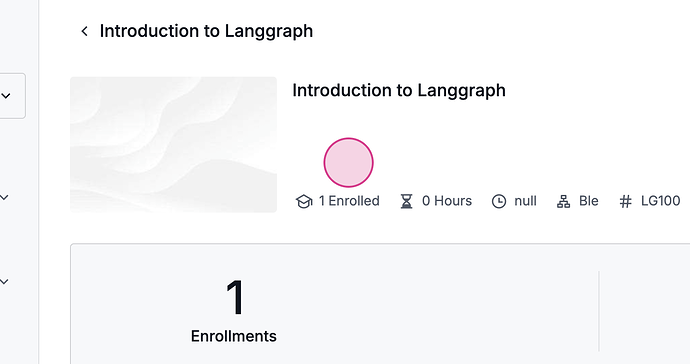
In the courses section, all available courses are displayed. Here, we have the capability to either edit existing courses or view them live. Clicking on a course allows access to its detailed outline.
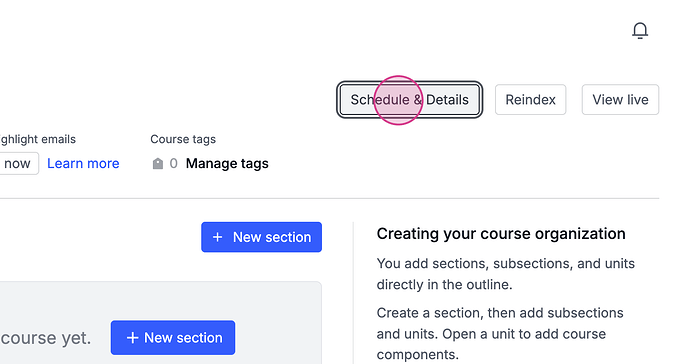
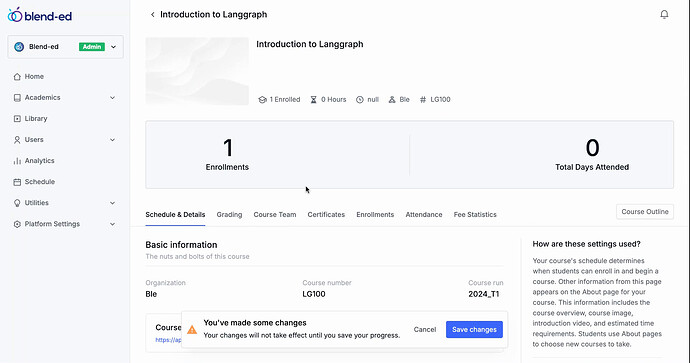
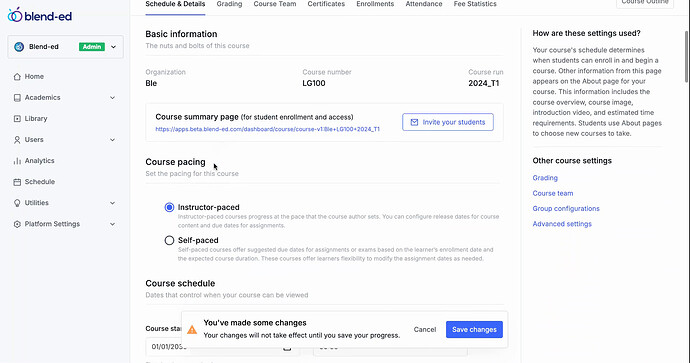
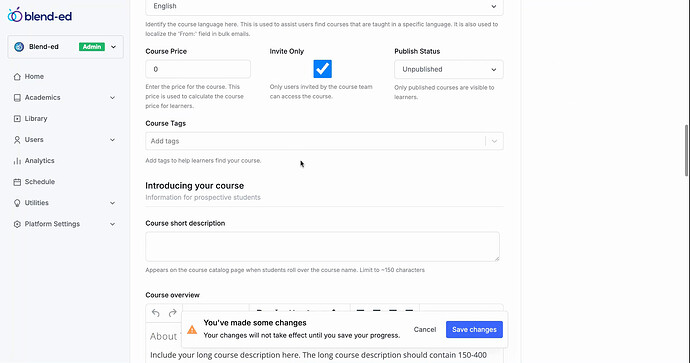
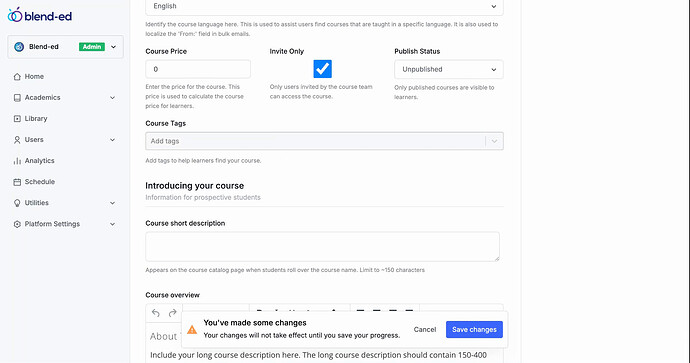
Should adjustments be necessary, such as modifying a course’s schedule, details, pricing, or publication status, these options are readily accessible. Additionally, we can add tags to courses, which aids in their filtration and organization based on specific criteria.
Moreover, we have the option to provide a comprehensive overview and description of each course.
Eine Option ermöglicht es auch, jedem Kurs ein Postkartenbild hinzuzufügen, was dessen visuelle Anziehungskraft erhöht.
Darunter befindet sich eine Funktion zur Erstellung eines Bildes für den Kurs, die durch Klicken auf einen bestimmten Button ausgelöst werden kann.
Zudem können Sie wählen, ob verschiedene Details über den Kurs, wie die Einführung, das Werbevideo, den erforderlichen Aufwand und die Voraussetzungen, einbezogen oder ausgeblendet werden sollen.
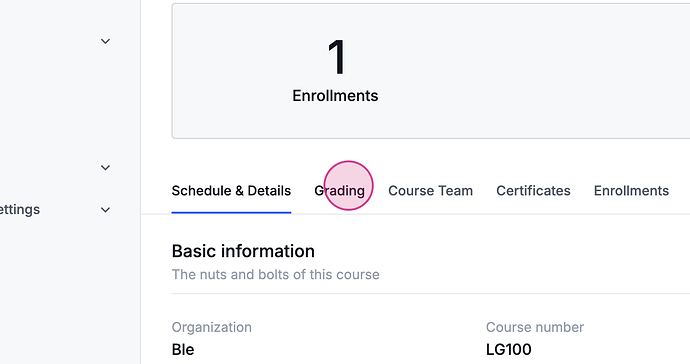
Wir bieten auch mehrere andere Funktionen an, darunter die Bewertung, bei der Noten zum Kurs hinzugefügt werden können.
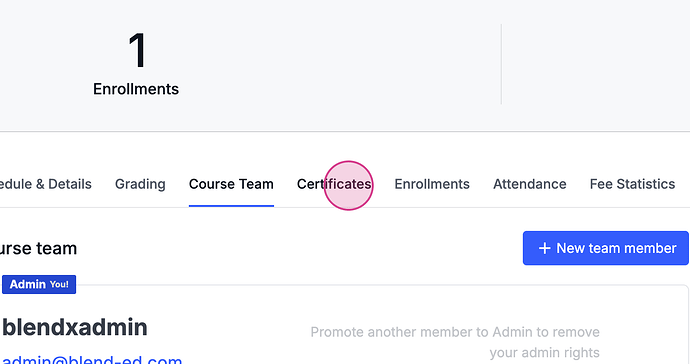
Eine weitere Funktion betrifft das Kursteam, wobei Mitglieder, die die Kurse verwalten, hinzugefügt werden können. Nur Personen mit Zugang zum Kursteam dürfen die Kursinhalte bearbeiten oder ändern.
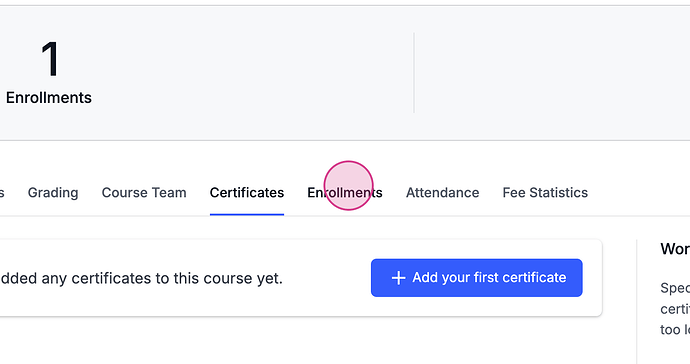
Außerdem gibt es einen Zertifikatsbereich, in dem Zertifikate aktiviert und detailliert beschrieben werden können.
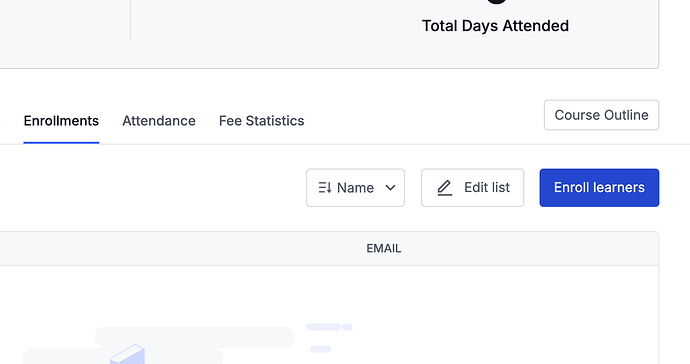
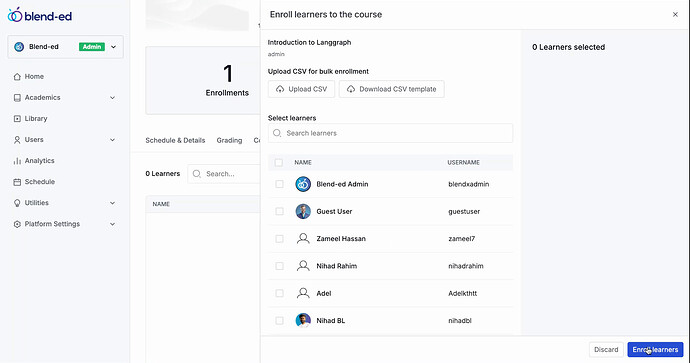
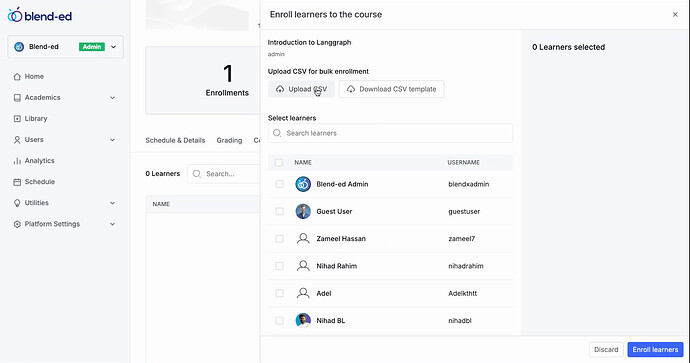
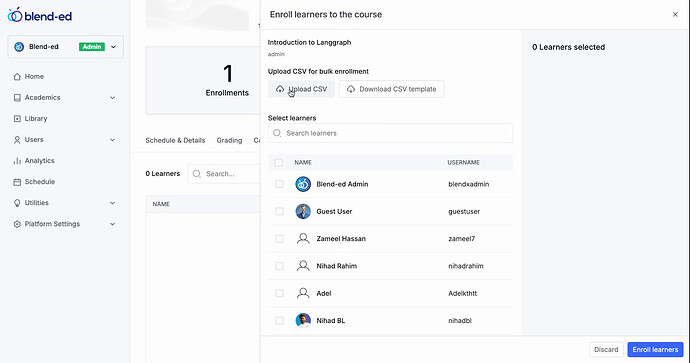
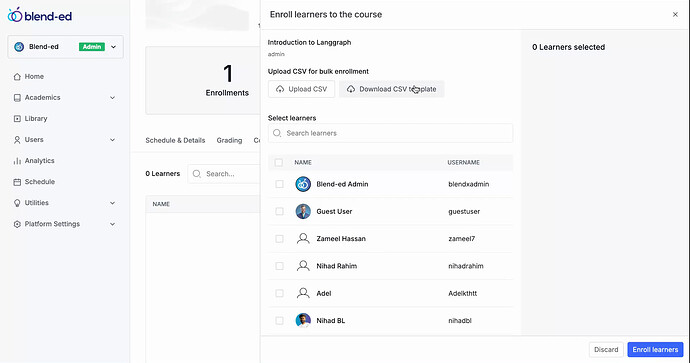
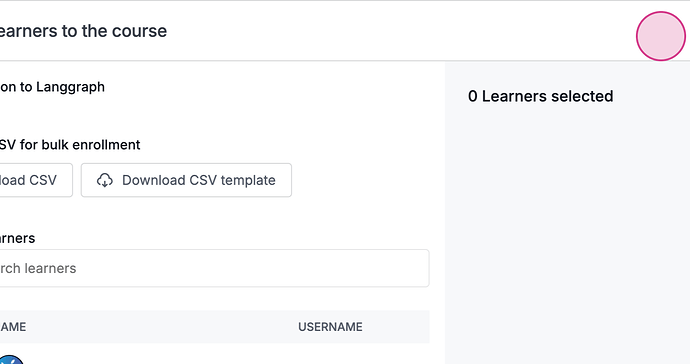
Im Einschreibungsabschnitt können Benutzer eingeschrieben werden.
Wir bieten eine Liste von Benutzern an, und durch Klicken auf jeden Benutzer können diese direkt eingeschrieben werden. Es gibt auch eine Option für die Masseneinschreibung, bei der eine CSV-Datei hochgeladen werden kann. Die Vorlage hierfür steht zum Download bereit. Bei der Einschreibung eines Studierenden erhält dieser eine E-Mail-Benachrichtigung über seine Einschreibung.
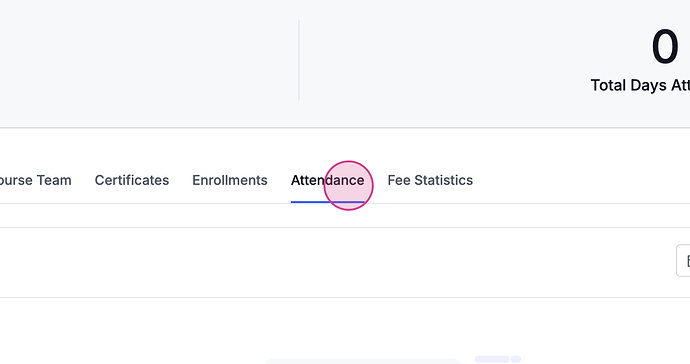
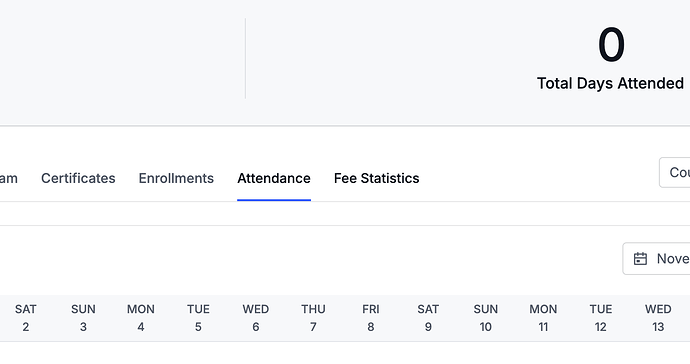
Darüber hinaus bieten wir einen Anwesenheitsbereich an.
Dieser Bereich wird durch umfangreiche Statistiken ergänzt.
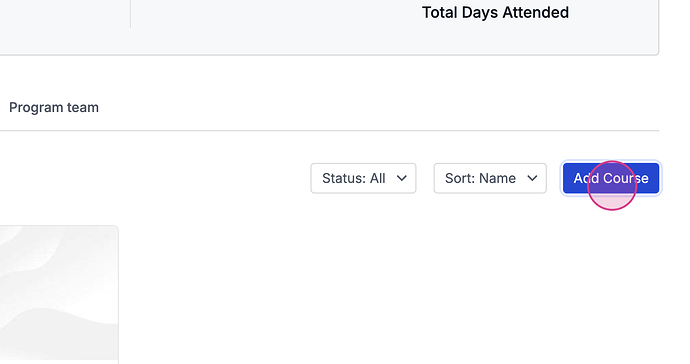
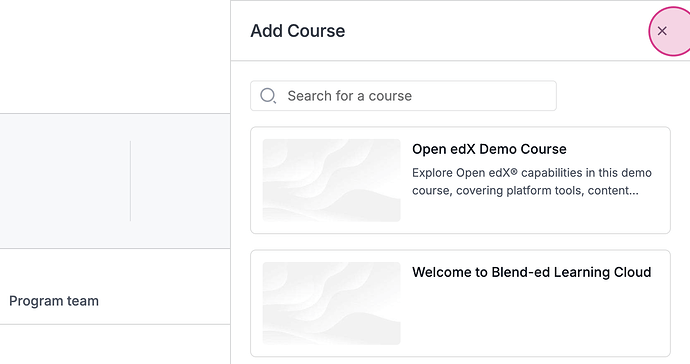
Im Programmbereich finden wir eine Liste verfügbarer Programme. Programme können durch die Programmeinstellungen erstellt oder verwaltet werden. Ähnlich wie bei einzelnen Kursen gibt es auch bei Programmen Einschreibungen, und es besteht auch die Möglichkeit, Kurse zu einem Programm hinzuzufügen, um sie effektiv zusammenzufassen.
Sobald ein Kurs hinzugefügt wird, wird er zu einem integralen Bestandteil des Programms.
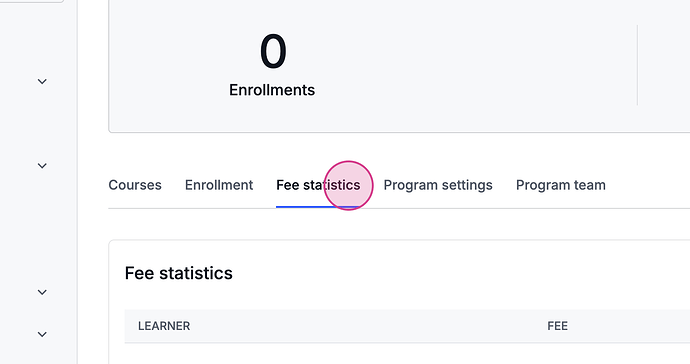
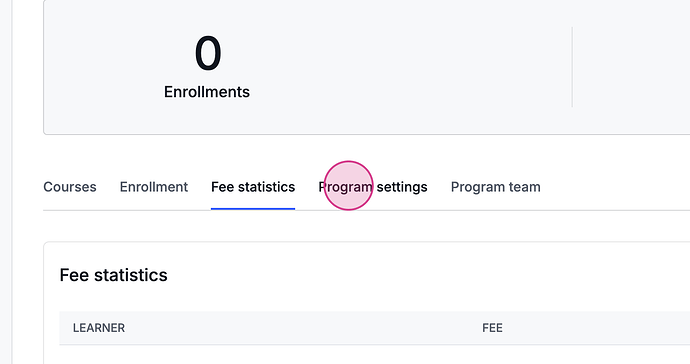
Wir führen dann die Feast Programmeinstellungen ein.
Darüber hinaus bieten wir die Möglichkeit, Bilder basierend auf dem Kontext von Beschreibungen und Leistungen, unter anderem Details, zu generieren. Diese Funktion ermöglicht die Erstellung von Bildern, die auf spezifische Informationen zugeschnitten sind.
Additionally, there is a program team that operates in a manner similar to the course team, playing a crucial role in managing access permissions for various individuals across different programs.
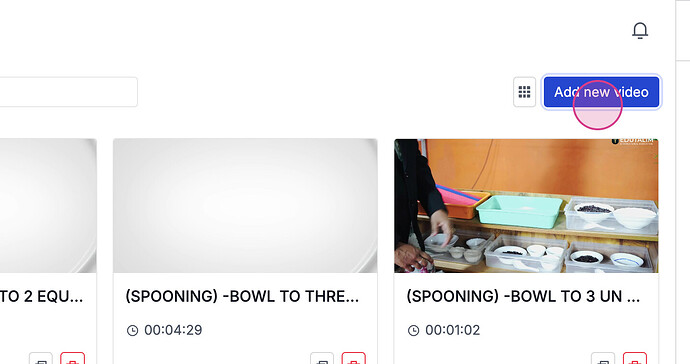
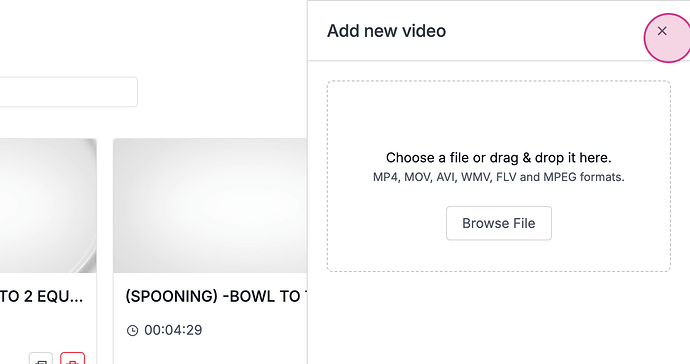
We also include a video library in our platform, which hosts a variety of videos. Users can add new videos by clicking on the upload button.
Upon clicking the upload button, users can proceed with uploading their video.
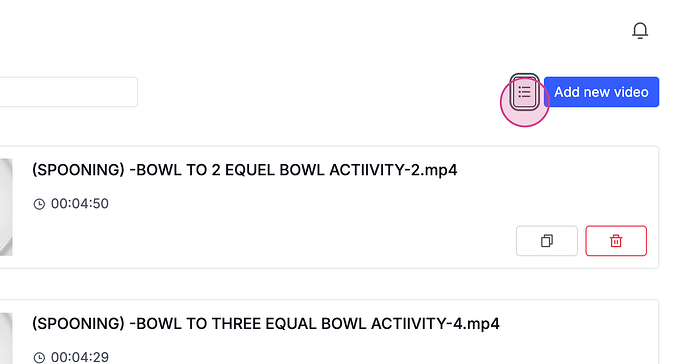
The platform supports multiple views for the videos, enhancing user experience.
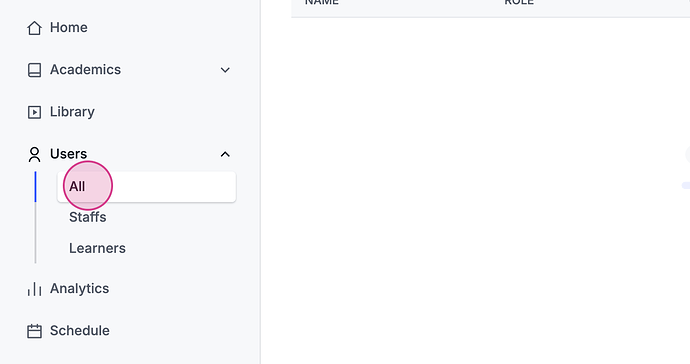
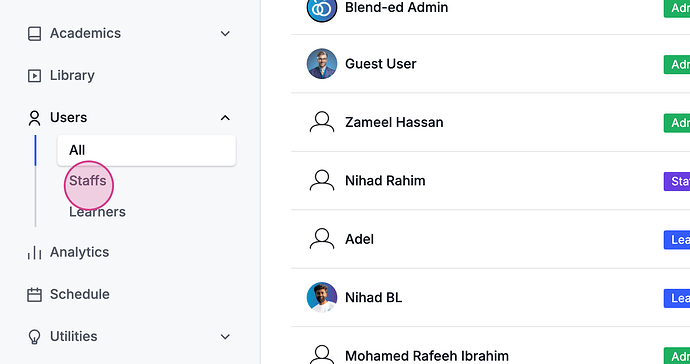
Next, we move to the user section.
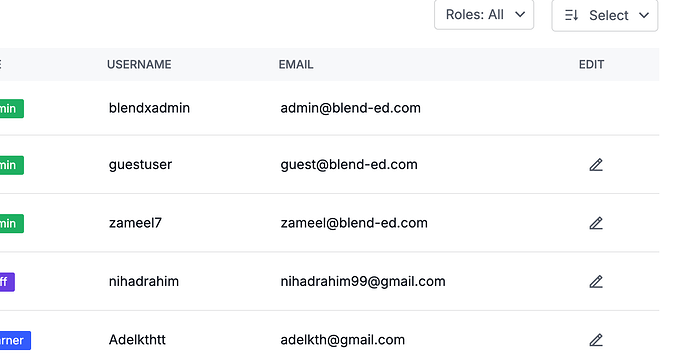
Here, a comprehensive list of all users registered on the platform is available.
From this point, it is possible to modify the roles of each user, tailoring access as needed.
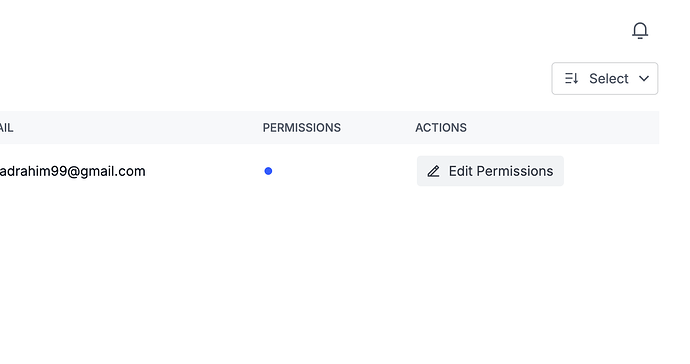
Following the user section, we have the staff section where all staff members are listed.
Each staff member can be assigned different permissions within the platform, ensuring flexibility and security.
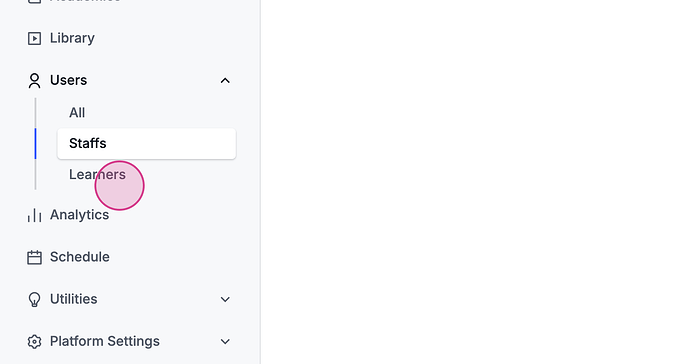
Then, we have the learner section, which displays all data related to learners.
Users can delve into learner analytics by selecting the respective option.
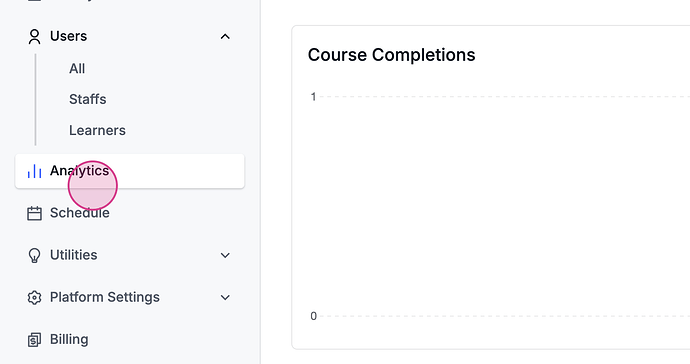
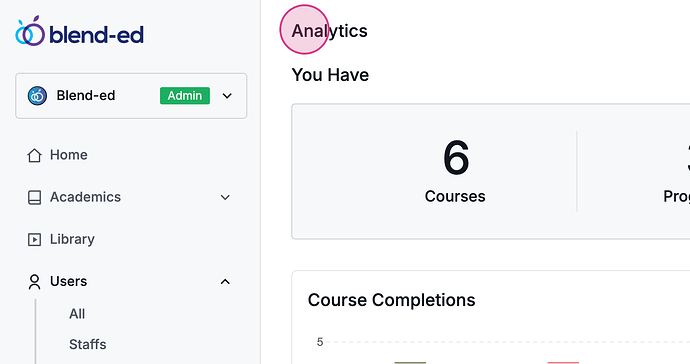
In the analytics and instructors section, we offer a comprehensive overview that includes metrics such as course completions, interaction rates, and a detailed catalog of courses featuring their pricing, along with statistics on learner engagement. Moreover, it is possible to access individual user analytics.
By selecting the appropriate link, you will be redirected to the progress page, where individual user analytics are detailed.
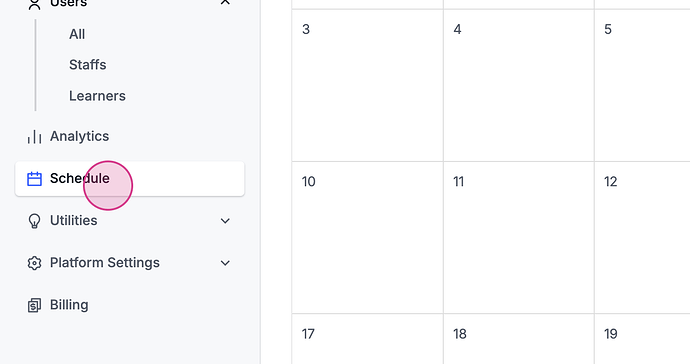
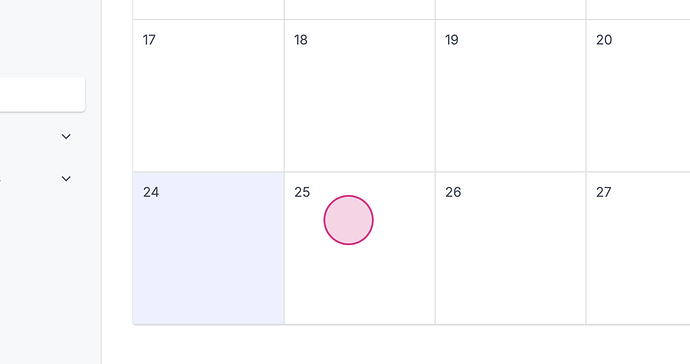
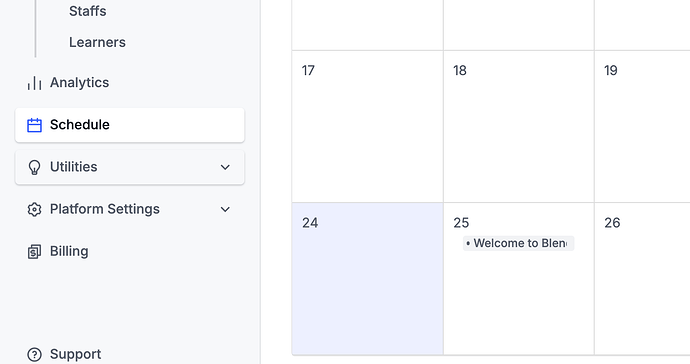
Additionally, the enrollment tab showcases a ‘see all’ option that provides a detailed list of all learners, courses, and enrollments. Following this, in the schedule section, we present options to add new events to the calendar.
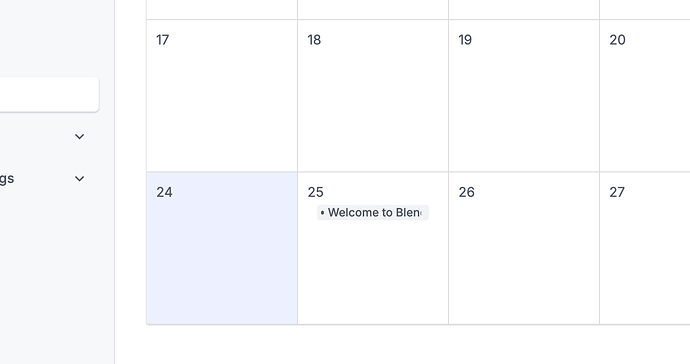
By choosing a specific date,
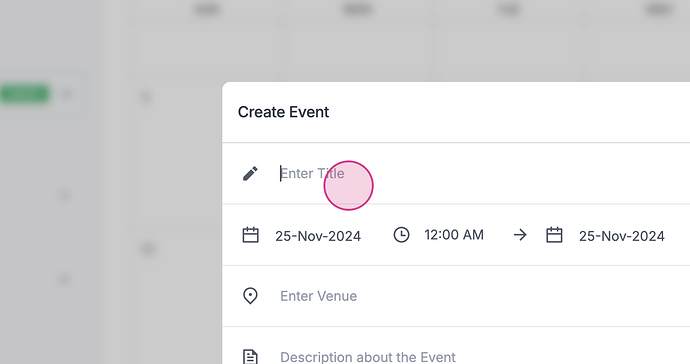
we can schedule a new event.
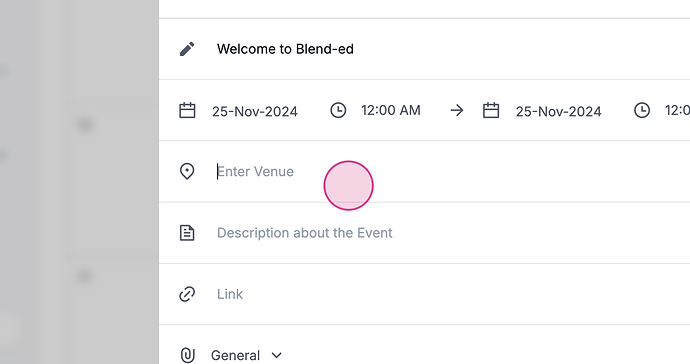
If needed, the date for the event can be adjusted.
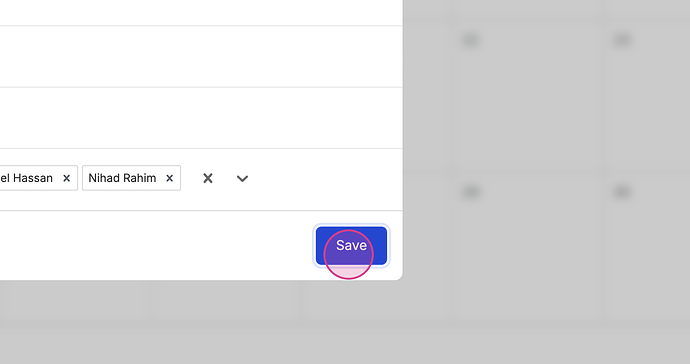
Participants eligible to schedule events can be selected from a list.
Once an event is scheduled,
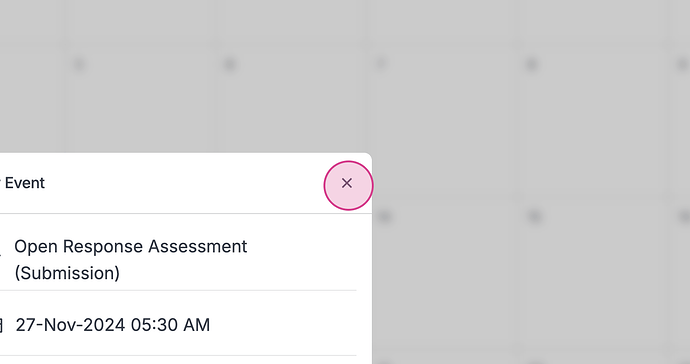
we are equipped to view all event details, make necessary adjustments, or remove the event if required.
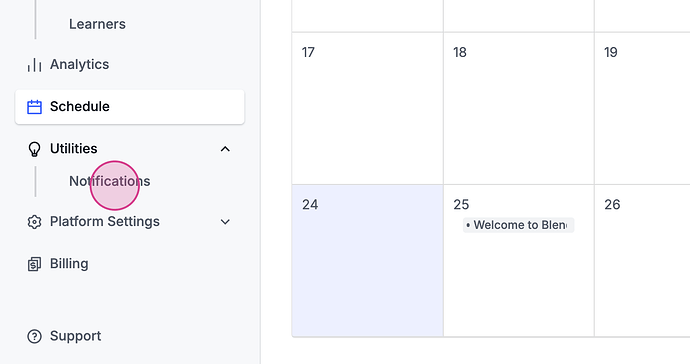
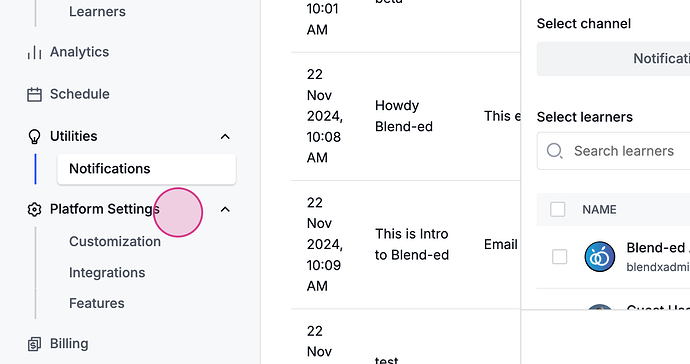
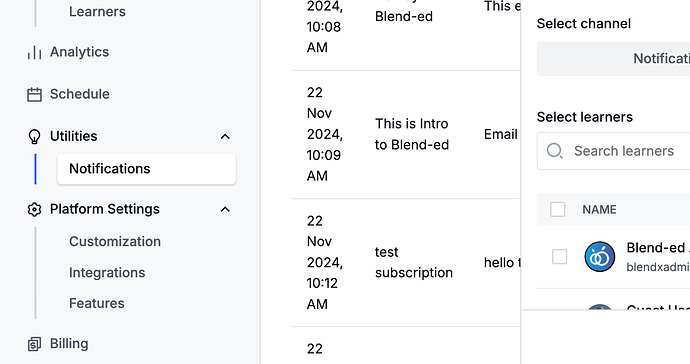
We then proceed to the utility section.
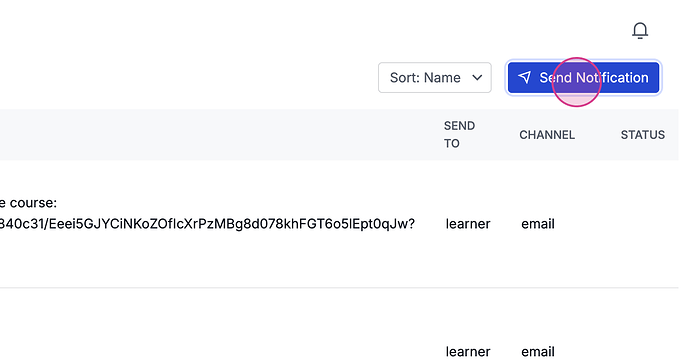
Here, we explore the options for managing notifications.
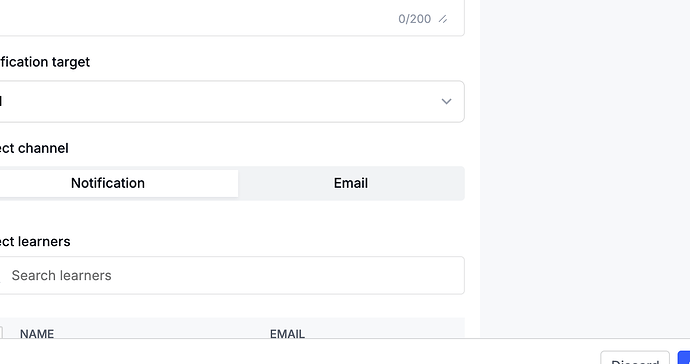
Notifications can be sent to users either through the platform or via email, enhancing communication flexibility.
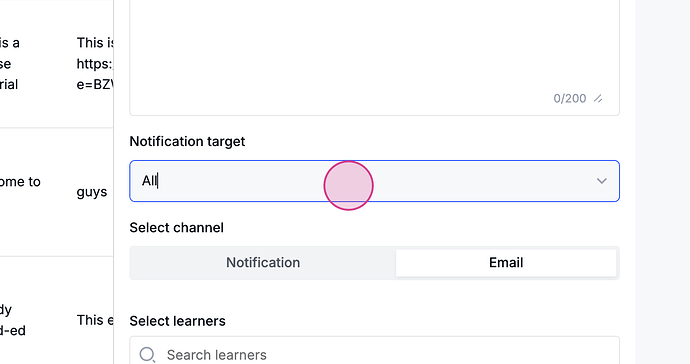
We can target specific users for email notifications and customize these notifications based on the recipients’ roles, such as learners, staff, or administrators. Notifications will appear on their respective dashboards.
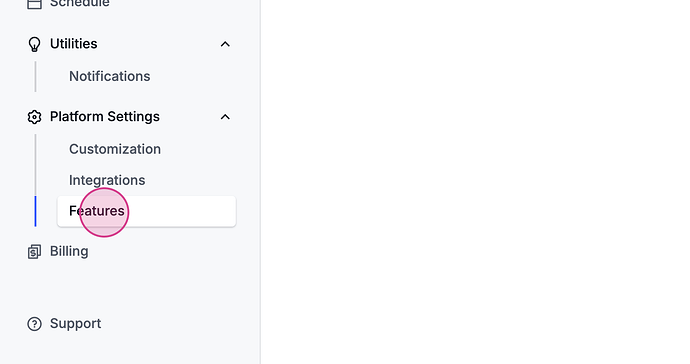
In the platform settings section,
we can enter basic administrative details, which will be displayed on the support page.
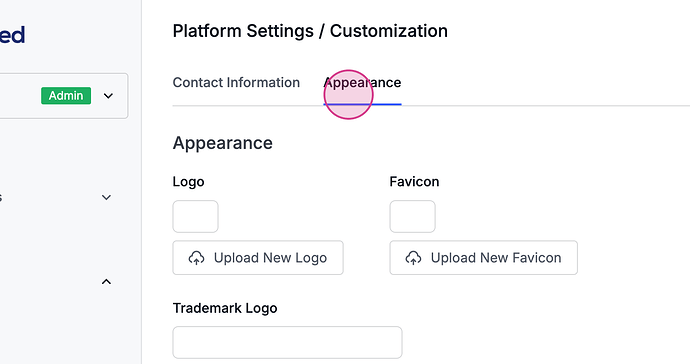
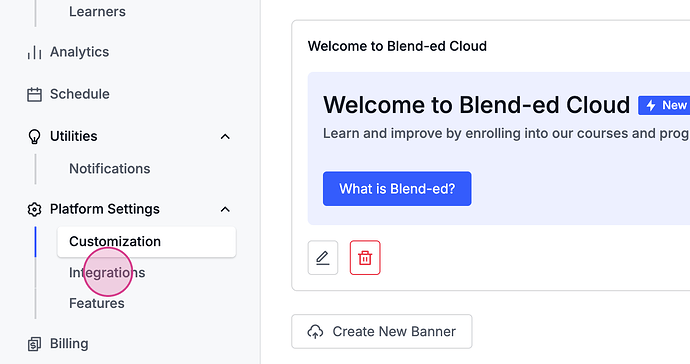
We also provide options to customize the platform’s visual appearance. This includes the addition of a new logo, changes to the fabric, and updates to the trademark logo. Moreover, we can adjust the theme and manage banners, either by creating new ones or updating existing ones.
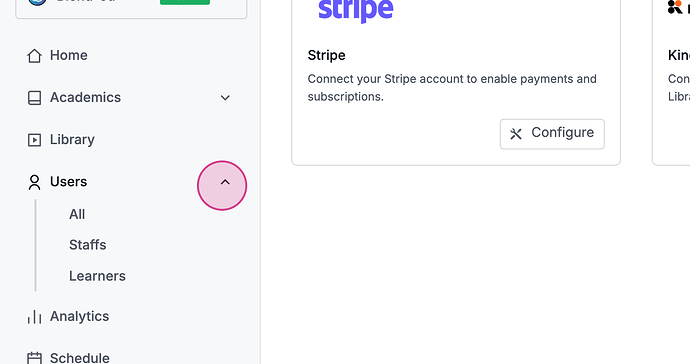
Moving on to the integration section,
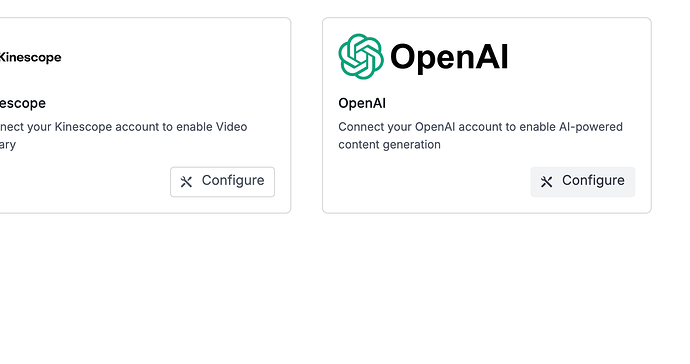
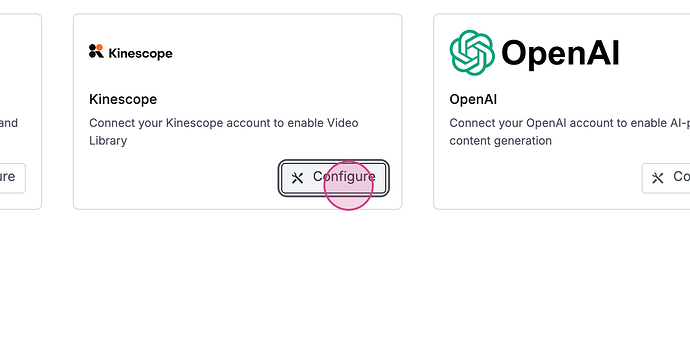
this area facilitates the integration of various services such as Stripe, Kinescope, or OpenAI, enhancing the platform’s functionality and user experience.
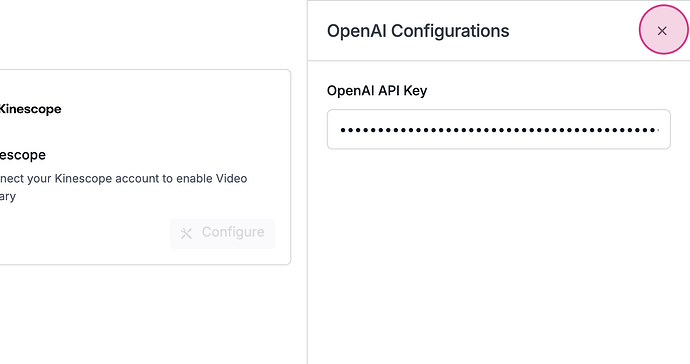
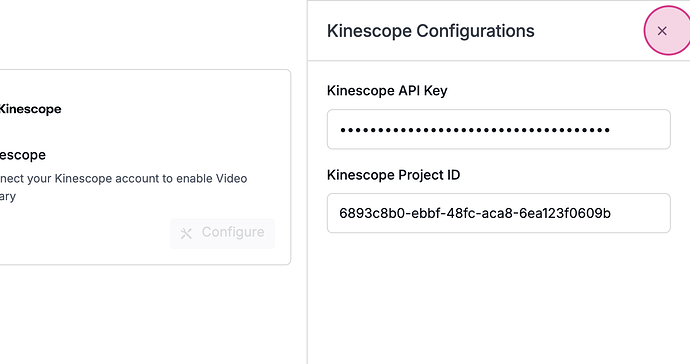
We can add our integration keys in this section.
By doing so, we can fully utilize the features provided by these integrations.
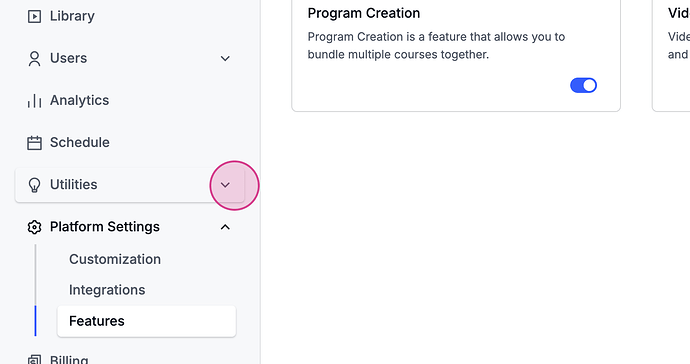
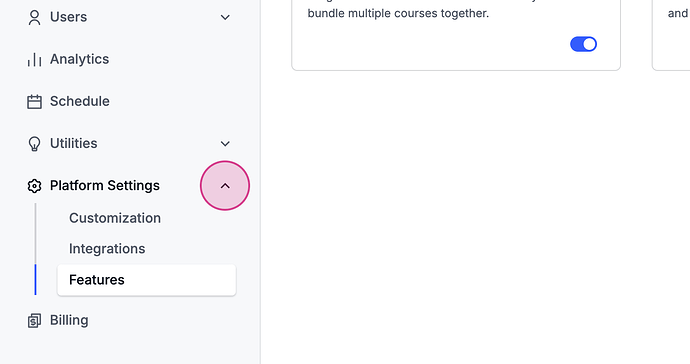
Additionally, we have the option to enable or disable various features, such as AI chat and image generation.
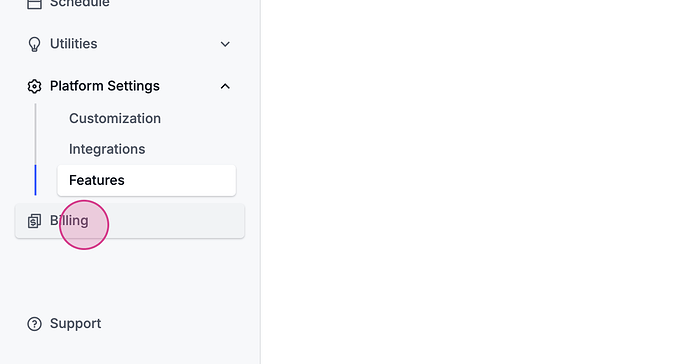
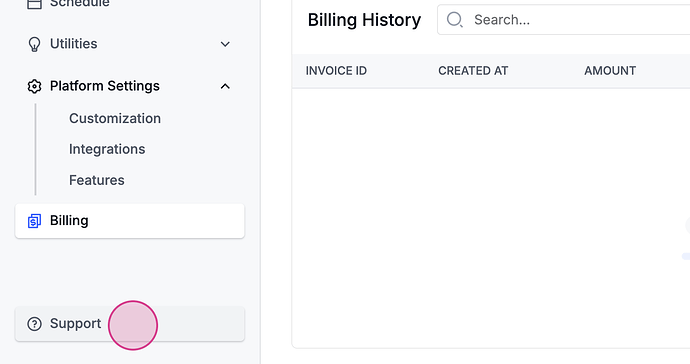
Furthermore, there is a billing feature available to users.
This section displays the monthly active users of a platform, where each platform has a limit based on the pricing plans, along with the billing history. Any bills associated with the platform will be displayed here.
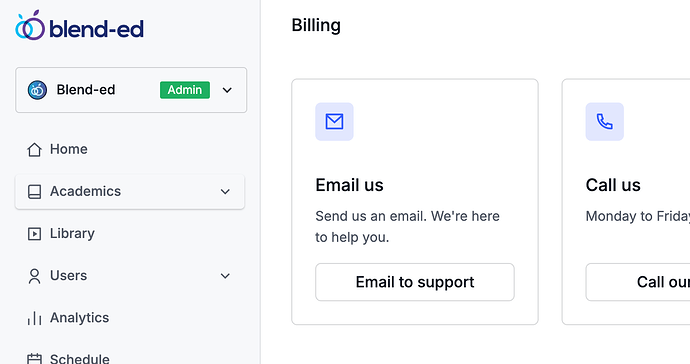
There is also a support bridge where instructors can contact support via email, phone, or even visit in person for assistance and directions.
This leads us to the InstaStaff
dashboard,
which constitutes the main part of the platform where an instructor can make any adjustments to the courses. Within a course,
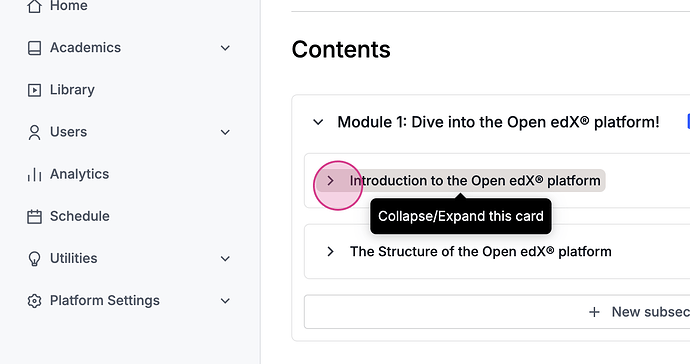
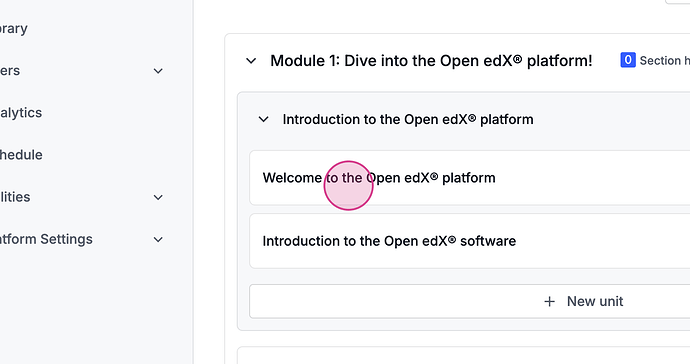
there are options for creating different sections or subsections. In each subsection,
multiple units can be added.
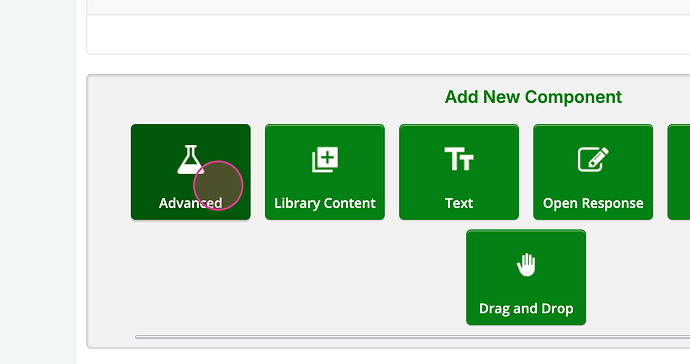
By selecting a unit, users are directed to the course editing page where all components of the subsection are displayed. Here, users have the ability to create new units or add components within an existing unit. The platform offers a variety of options for enhancing the course content.
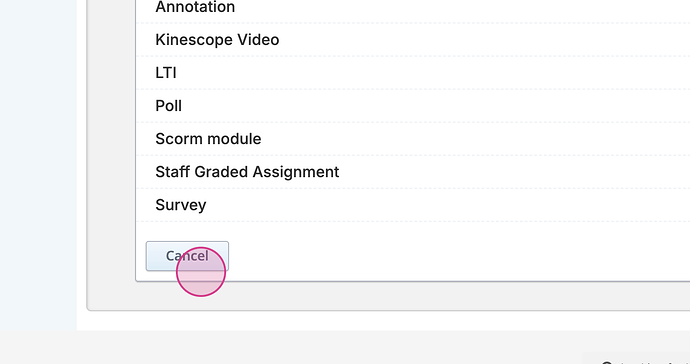
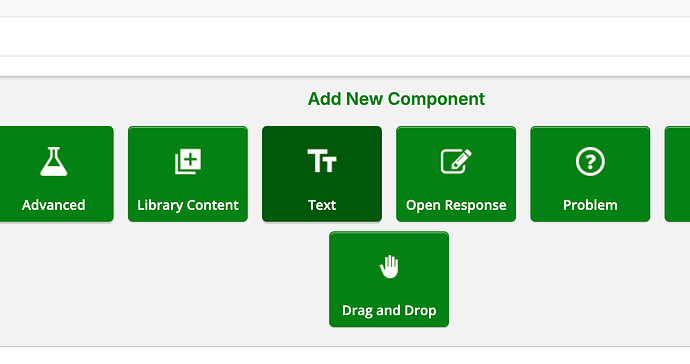
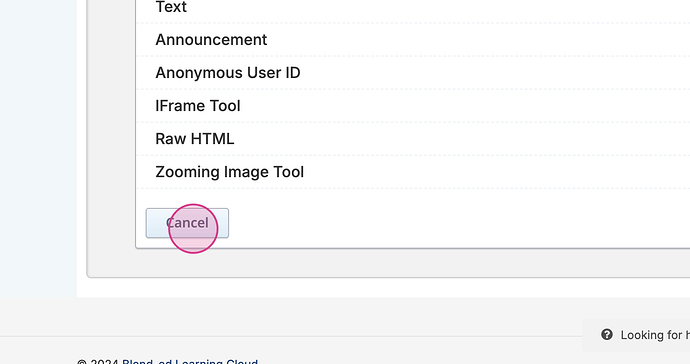
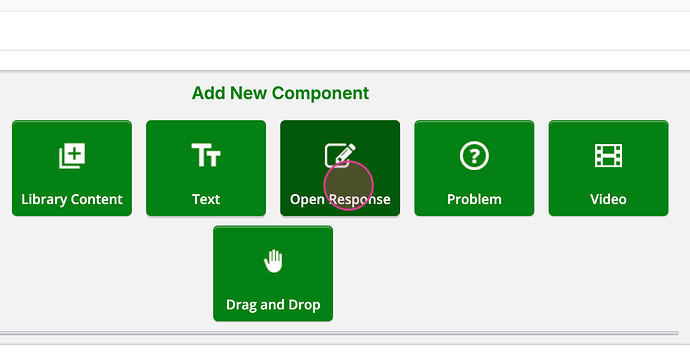
These options include the addition of advanced components, library components, and text components.
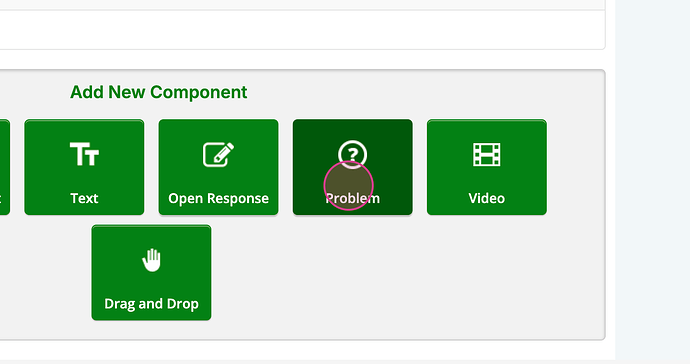
Furthermore, users can incorporate open response problems and other specialized problem components into their courses.
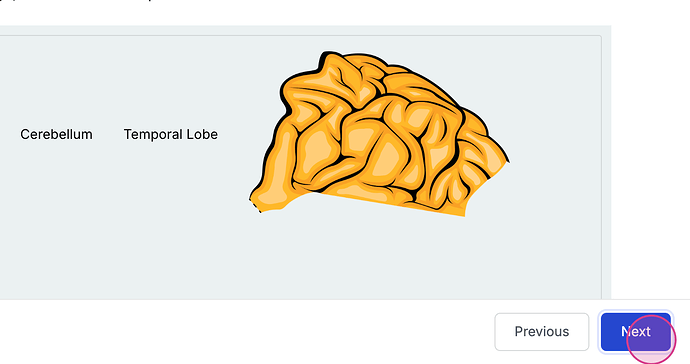
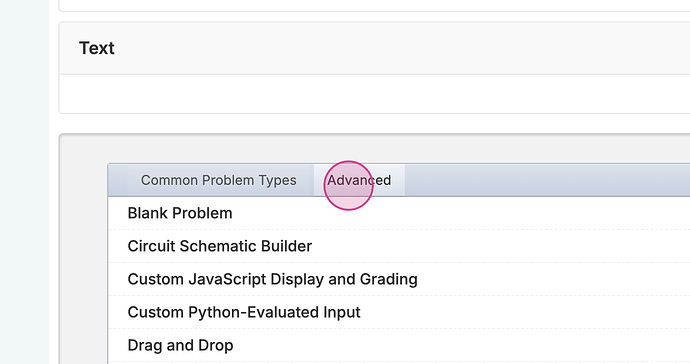
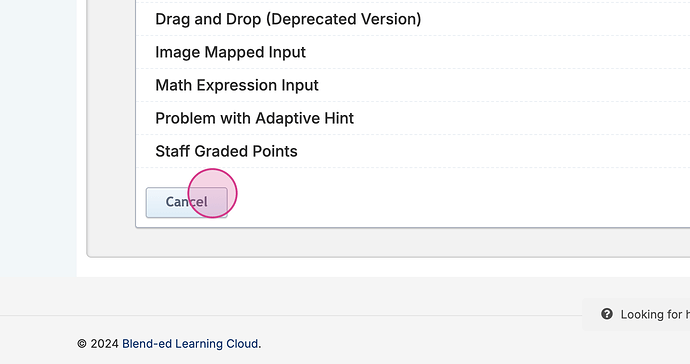
These components range from common to advanced problem types, including interactive video and drag-and-drop problems.
After selecting and configuring a component, it can either be published immediately or discarded if not needed. Once all desired components are added, users can preview the live version of the course to ensure everything is set up correctly.
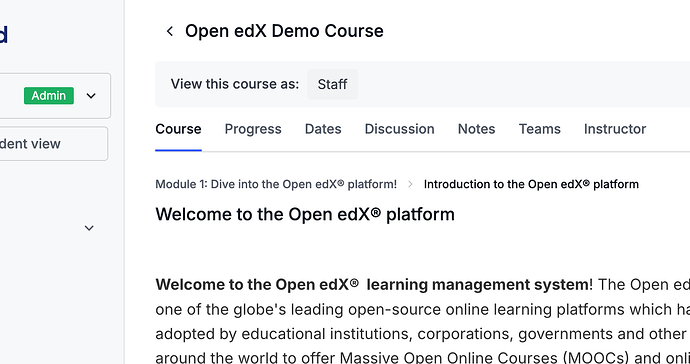
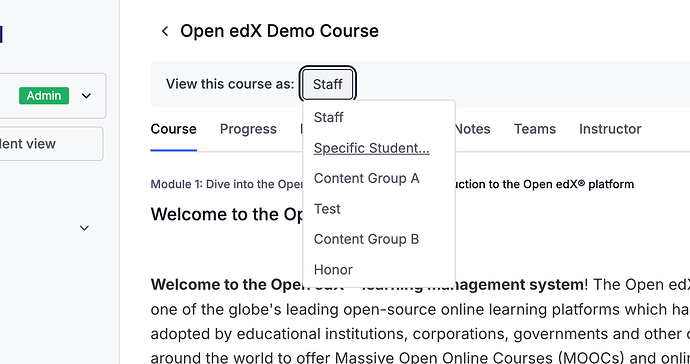
Modifications to any components can be made at any time by accessing the studio page through a dedicated button. This feature also allows staff members to view the course from the perspective of different users.
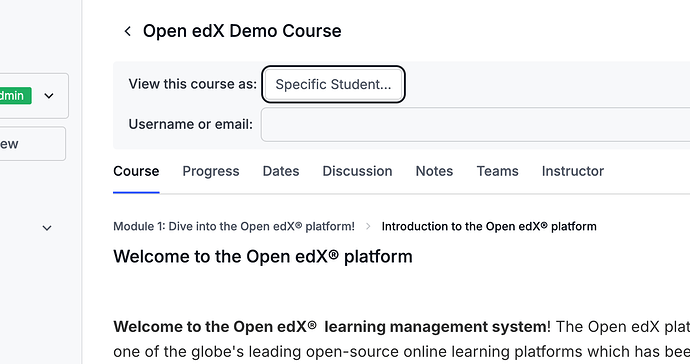
By clicking this button, staff members can choose to view the course as a specific student.
If the selected student is not enrolled, a notification will appear indicating that the student is not registered for the course. Conversely, if the student is enrolled, the system redirects to the course view from that student’s perspective.
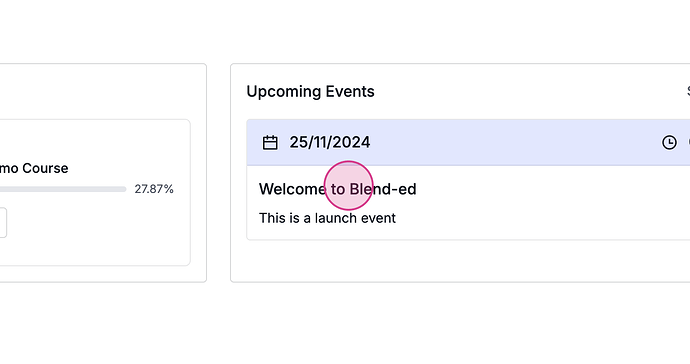
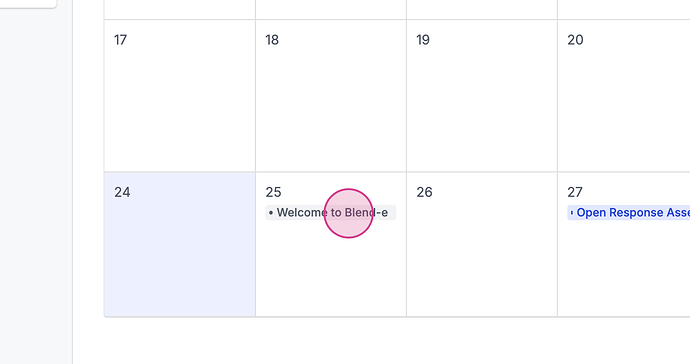
Next, we transition to the student dashboard, where all upcoming events added by the instructor are visible.
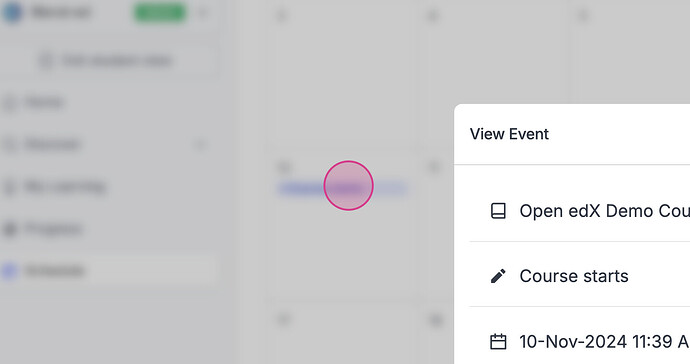
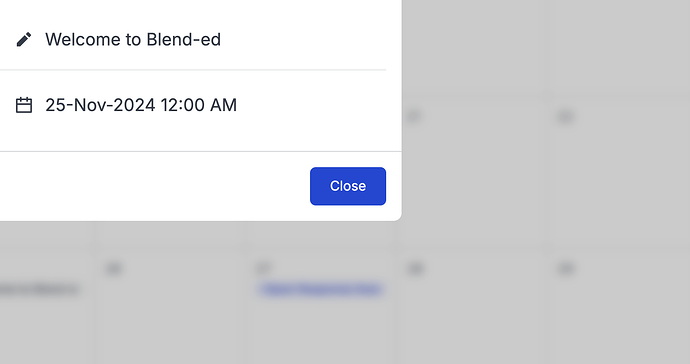
Here, users can click on each event to get a brief overview.
