Objective
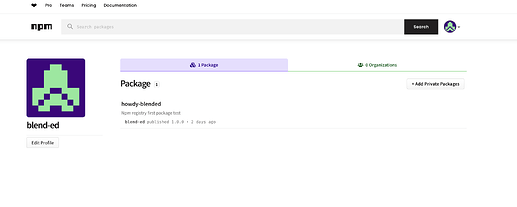
The task is to explore how we can publish NPM packages to a registry, with a focus on private packages. The main goal is to publish the Open edX design system package for internal use.
Public vs. Private Packages
Public packages can be installed by anyone using npm install package_name from the npm registry. For our use case, we will deploy internal packages as private packages, which will only be accessible to people or organizations with the necessary permissions. We aim to publish the Open edX design system package, which we will fork from the Open edX repository.
Scoped vs. Unscoped Packages
There are two types of packages in NPM: scoped and unscoped. Scoped packages are prefixed with @orgname/package_name. If we want to create a private package, it should be scoped by default. The name that comes after the @ can be the username or organization name. Scoping helps ensure that we get the desired package name without conflicts, as it is less likely that the scoped name will be taken.
Unscoped packages are regular packages with just the name of the package, such as package_name. These are normal NPM packages
The Problem
To register a scoped private package, a premium NPM account is required, which costs $7 per month. However, we can use the GitHub registry to host our package and install it through the NPM CLI. This approach avoids the monthly fee and keeps the package private, accessible only to people within our organization.
NPM Registry and GitHub Registry
Packages installed from NPM can be stored in the NPM registry or the GitHub registry. By keeping the repository private, we can ensure the NPM package is private, and only people with access to the repo can install it. Therefore, we will use the GitHub registry to host our packages instead of the NPM registry, avoiding the monthly cost.
Creating an NPM Package
Any NPM project with a package.json file is an NPM package. Important fields in the package.json include:
  "name": "foo",
  "version": "1.2.3",
  "description": "A packaged foo fooer for fooing foos",
  "main": "foo.js",
  "man": "./man/doc.1"
}
If the name does not start with @, it is an unscoped package. For scoped packages, the name would look like "@blend-ed/package_name".
The version number must increase with each new push to the registry. This can be done manually or using commands like npm version patch, npm version minor, or npm version major. You can locally test the package before publishing using the npm link command, which loads the package from local storage.
After testing, follow these steps to publish the package:
- Log in to the NPM registry using
npm loginand provide the credentials. - Use the
npm publishcommand to push the package to the registry.
For our use case, we will use the GitHub registry for storing the package.
The GitHub Registry
To publish a package to the GitHub registry, follow the above steps, and before the npm publish command, ensure there are two .npmrc files:
- The first
.npmrcfile should be in the root of the system (~/location). This file should contain:
//npm.pkg.github.com/:_authToken=TOKEN
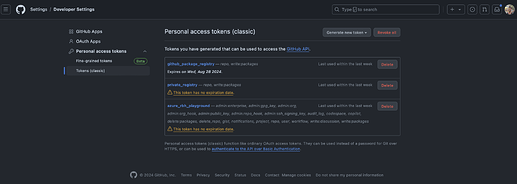
- Here, the TOKEN is generated from the GitHub settings.
- The second
.npmrcfile should be in the root of the project folder. This file should contain:
@NAMESPACE:registry=https://npm.pkg.github.com
For us, NAMESPACE is blend-ed .
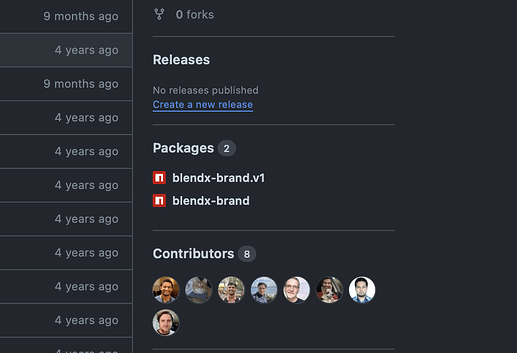
After adding these files, use the npm publish command. Once the repo is pushed, you can see the packages in the GitHub UI. Different branches can be used to publish multiple packages from a single repo.
blendx-brand package
Automating with GitHub Actions
While I didn’t do a POC for automation, it’s possible to add a GitHub Action to automate the publishing process directly from GitHub. However, since only one developer is currently working on this repo, automation might not be necessary at this time.
By following these steps, we can successfully create and publish private NPM packages using the GitHub registry without incurring additional costs from NPM.


